
Generative AI is no longer a futuristic concept—it’s here, transforming industries, reshaping user experiences, and creating new possibilities in how we interact with technology. Among these advances, conversational AI stands out for its intuitive and powerful interface. But what if you could build your own chatbot, tailored to your needs, powered by OpenAI’s ChatGPT API?
In this comprehensive tutorial, we’ll guide you through every step of building your own AI chatbot—from setting up the API key to developing a functional chatbot and deploying it on the web. Whether you’re a beginner or an intermediate developer, this guide is structured to help you not only follow along but also understand the reasoning behind each decision.
📑 Table of Contents
- 1. The Era of Conversational AI: Why Build Your Own Chatbot?
- 2. Prerequisites: What You Need Before You Start
- 3. Understanding the ChatGPT API Structure
- 4. Creating Your First Chatbot: Basic Implementation
- 5. Enhancing Your Bot: Memory, Personality, and Roles
- 6. Building a Web-Based Chatbot Interface
- 7. Deploying and Managing Your Chatbot
- 8. Real-World Tips and Best Practices
- 9. Conclusion: What It Means to Build Your Own AI Chatbot
1. The Era of Conversational AI: Why Build Your Own Chatbot?
We are at the forefront of an AI revolution, where machines not only process commands but also engage in meaningful, contextual conversation. Chatbots powered by large language models like ChatGPT are now being used in everything from customer support and education to virtual assistants and content creation.
But why build your own chatbot? The key lies in customization. By leveraging the ChatGPT API, you can create a conversational agent that is uniquely designed for your domain—whether it’s to guide customers through a specific workflow, act as an expert in a particular field, or simply carry on human-like chats with a distinct personality.
In this post, we won’t just give you code snippets. We’ll walk through real decisions and implementations that answer questions like:
- How does the ChatGPT API actually work?
- What are the required tools and setup steps?
- How can I create a web-based chatbot that anyone can access?
By the end of this guide, you’ll not only have a working chatbot—you’ll have the foundational knowledge to expand and evolve it in whatever direction your ideas take you.
2. Prerequisites: What You Need Before You Start
Before diving into code, there are a few essential steps to set up your environment and tools. These prerequisites ensure you can interact with OpenAI’s ChatGPT API smoothly and build your chatbot with confidence.
2-1. Getting Your OpenAI API Key
To use the ChatGPT API, you’ll need an API key provided by OpenAI. Here’s how to get it:
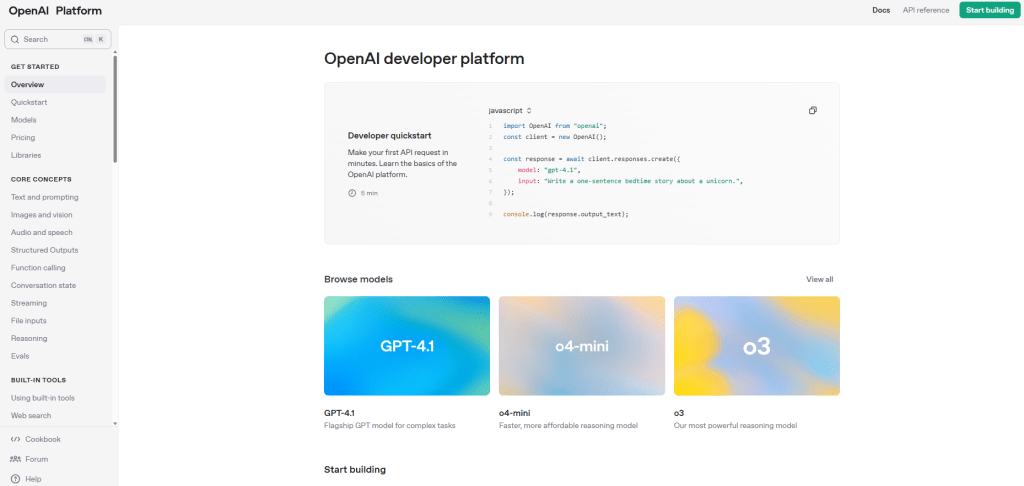
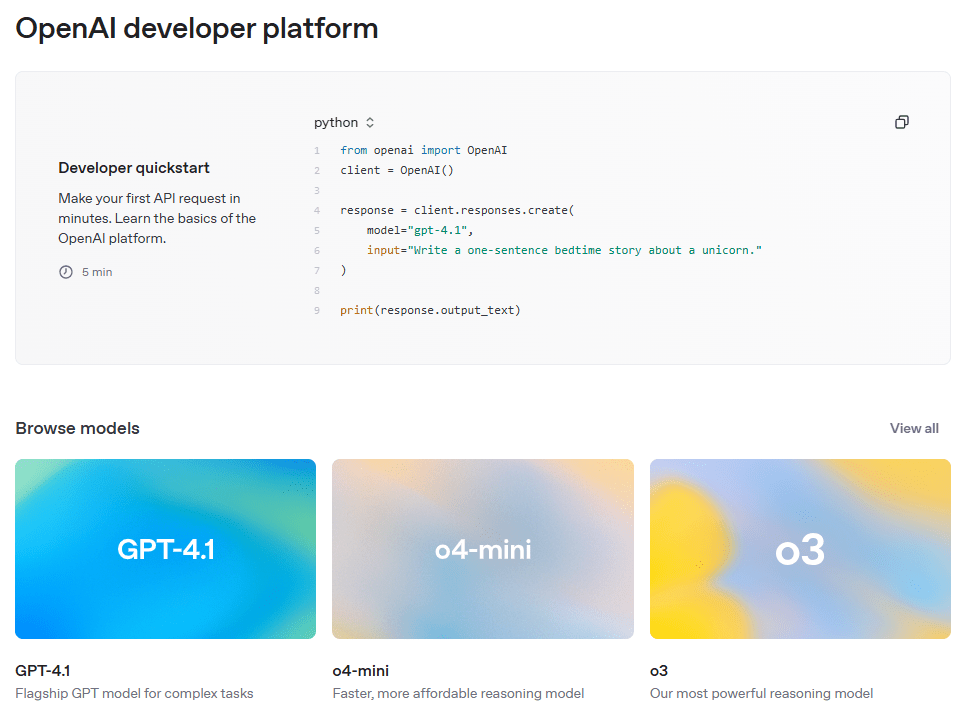
- Go to the OpenAI Platform and sign up or log in.
- Navigate to API Keys from the top menu.
- Click on “Create new secret key” and securely save your key.
Important: Never expose your API key in public repositories or client-side code. Use environment variables to manage it securely.
2-2. Setting Up Your Development Environment
This guide uses Python for backend development and requires the following tools:
- Python 3.8 or later
- pip (Python package manager)
- Code editor (e.g., VS Code, PyCharm)
To install the required libraries, use the command below:
pip install openai python-dotenv flask2-3. Using Environment Variables (.env File)
To keep your API key secure and out of your source code, use a .env file. In your project root, create this file and add:
OPENAI_API_KEY=your_openai_api_key_hereThen, load this variable in your Python code using the python-dotenv package:
from dotenv import load_dotenv
import os

load_dotenv()
api_key = os.getenv("OPENAI_API_KEY")
2-4. Testing the API Connection
Now let’s test if your API key and environment are correctly set up. Run the following code to send a message to ChatGPT and print the response:
import openai
from dotenv import load_dotenv
import os

load_dotenv()
openai.api_key = os.getenv("OPENAI_API_KEY")

response = openai.ChatCompletion.create(
    model="gpt-3.5-turbo",
    messages=[
        {"role": "user", "content": "Hello, who are you?"}
    ]
)

print(response["choices"][0]["message"]["content"])
If everything is configured properly, you’ll receive a reply from the chatbot. You’re now ready to move on to implementation!
3. Understanding the ChatGPT API Structure
The ChatGPT API is designed to be simple, flexible, and powerful. It works through standard HTTP requests and responds with structured JSON data. To build a chatbot, you’ll primarily use the ChatCompletion endpoint, which enables rich, contextual conversations with the model.
3-1. Basic API Call Format
Here’s a basic example of how to send a message to the API and receive a reply:
response = openai.ChatCompletion.create(
    model="gpt-3.5-turbo",
    messages=[
        {"role": "user", "content": "Hello, who are you?"}
    ]
)
This call sends a single user message and receives a response from the assistant. The messages list is the heart of the conversation context and can grow to include multiple turns in a dialogue.
3-2. Key Parameters Explained
The ChatCompletion API uses several key parameters to define the behavior and quality of the response. Here’s a breakdown:
| Parameter | Description |
|---|---|
| model | Specifies which model to use, e.g., gpt-3.5-turbo or gpt-4 |
| messages | List of message objects with roles (system, user, assistant) and content |
| temperature | Controls randomness; lower is more focused and deterministic (range: 0.0–1.0) |
| max_tokens | Maximum number of tokens to generate in the response |
| top_p | Controls diversity via nucleus sampling; alternative to temperature |
| stop | A list of strings that will stop the generation when encountered |
3-3. Choosing Between GPT-3.5 and GPT-4
OpenAI offers different models depending on your needs. Here’s how they compare:
| Aspect | GPT-3.5 Turbo | GPT-4 |
|---|---|---|
| Speed | Faster | Slower |
| Accuracy | Moderate | High |
| Cost | Low | High |
| Best Use Cases | Casual chats, prototyping, fast responses | Professional applications, complex queries, high-quality responses |
In most cases, it’s a good idea to start with gpt-3.5-turbo and upgrade to gpt-4 only when you need higher precision or more complex reasoning.
Now that you understand the core structure and logic of the ChatGPT API, you’re ready to build your very first chatbot.
4. Creating Your First Chatbot: Basic Implementation
Now that you’re familiar with how the ChatGPT API works, it’s time to build your first functional chatbot. In this section, you’ll create a simple terminal-based application that sends a message to the API and prints out the model’s response. This is the foundation upon which you can build more advanced capabilities later.
4-1. A Simple Interactive Chatbot
The code below creates a looped conversation with the ChatGPT model. It allows the user to input a message and receive a real-time response from the assistant.
import openai
from dotenv import load_dotenv
import os

load_dotenv()
openai.api_key = os.getenv("OPENAI_API_KEY")

def chat_with_gpt():
    print("Welcome to your AI Chatbot! Type 'exit' to quit.")

    while True:
        user_input = input("You: ")
        if user_input.lower() == "exit":
            print("Chatbot session ended.")
            break

        response = openai.ChatCompletion.create(
            model="gpt-3.5-turbo",
            messages=[{"role": "user", "content": user_input}]
        )

        reply = response["choices"][0]["message"]["content"]
        print(f"GPT: {reply}")

chat_with_gpt()
This program does the following:
- Prompts the user for input repeatedly.
- Sends each input to the ChatGPT API.
- Displays the AI’s reply to the console.
4-2. Code Breakdown
load_dotenv()loads the environment variable from the.envfile.openai.ChatCompletion.create()sends the user input to the model.messagesis a list containing the dialogue history. Here we start with just one user message.response["choices"][0]["message"]["content"]extracts the text reply from the response object.
4-3. Example Output
Here’s what a sample session might look like in the terminal:
You: Hi there!
GPT: Hello! How can I assist you today?

You: What's the capital of France?
GPT: The capital of France is Paris.

You: exit
Chatbot session ended.
4-4. Pro Tips
- To improve UX, consider trimming long responses or using text formatting.
- Handle exceptions to avoid crashes when API rate limits are hit or the network fails.
- Think modular: separate input/output logic from API handling for future scalability.
Congratulations! You’ve built a working chatbot that communicates with one of the most powerful AI models available today. In the next section, we’ll take this further by adding memory, personality, and roles to your chatbot for a much richer conversation experience.
5. Enhancing Your Bot: Memory, Personality, and Roles
Now that you’ve built a basic chatbot, it’s time to give it memory and a sense of identity. In this section, you’ll learn how to make your chatbot remember past messages, behave consistently based on a personality, and take on different roles depending on your needs. These upgrades will make the interaction more realistic, intelligent, and aligned with your application’s purpose.
5-1. Maintaining Conversation History (Context)
The ChatGPT API doesn’t inherently remember previous exchanges unless you include them in the messages list. To maintain a flowing conversation, you need to append both user and assistant messages to this list with each interaction.
import openai
from dotenv import load_dotenv
import os

load_dotenv()
openai.api_key = os.getenv("OPENAI_API_KEY")

def chat_with_context():
    messages = []
    print("Start chatting with memory enabled. Type 'exit' to quit.")

    while True:
        user_input = input("You: ")
        if user_input.lower() == "exit":
            print("Session ended.")
            break

        messages.append({"role": "user", "content": user_input})

        response = openai.ChatCompletion.create(
            model="gpt-3.5-turbo",
            messages=messages
        )

        reply = response["choices"][0]["message"]["content"]
        print(f"GPT: {reply}")

        messages.append({"role": "assistant", "content": reply})

chat_with_context()
By maintaining the full context of the conversation, your chatbot can generate responses that are more coherent and relevant to ongoing discussions.
5-2. Defining the Bot’s Personality Using System Prompts
The system role allows you to define how the chatbot should behave. This message sets the tone, style, or function of the AI in a session. You should add it at the beginning of the messages list.
messages = [
    {"role": "system", "content": "You are a helpful travel advisor that always speaks in a friendly tone."}
]
By doing so, your assistant’s replies will adopt a tone consistent with a travel guide. You can experiment with different personas to tailor the chatbot experience to your use case.
5-3. Common Role Examples
Here are several use cases where you might want your chatbot to take on a specific persona:
| Bot Type | System Prompt Example |
|---|---|
| Polite Assistant | “You are a polite and respectful customer service assistant.” |
| Technical Tutor | “You are an experienced Python tutor. Explain all concepts clearly to beginners.” |
| Joking Companion | “You are a witty friend who always includes a joke in your responses.” |
5-4. Fine-Tuning Responses with Parameters
You can further shape how the chatbot behaves by adjusting additional API parameters:
temperature: Set lower for factual answers (e.g., 0.3), higher for creativity (e.g., 0.9).max_tokens: Controls the length of the response.top_p: Alternative to temperature, filters the most probable tokens dynamically.
With these improvements, your chatbot will feel more personal, consistent, and intelligent—well beyond simple question-answer behavior. In the next section, you’ll bring this bot into the real world by building a web interface users can interact with visually.
6. Building a Web-Based Chatbot Interface
A terminal chatbot is great for testing, but most users prefer interacting through a graphical interface. In this section, you’ll build a simple yet functional web interface for your chatbot using Flask as the backend and HTML/CSS/JavaScript on the frontend.
6-1. Project Structure Overview
Organize your project files as follows:
web-chatbot/
│
├── app.py                # Flask backend
├── .env                  # API key and other environment variables
├── templates/
│   └── index.html        # Frontend page
└── static/
    └── style.css         # Styling
6-2. Flask Backend (app.py)
This backend receives user input via POST request, queries ChatGPT, and returns the response as JSON.
from flask import Flask, render_template, request, jsonify
from dotenv import load_dotenv
import openai
import os

load_dotenv()
openai.api_key = os.getenv("OPENAI_API_KEY")

app = Flask(__name__)

@app.route("/")
def index():
    return render_template("index.html")

@app.route("/chat", methods=["POST"])
def chat():
    user_message = request.json["message"]

    response = openai.ChatCompletion.create(
        model="gpt-3.5-turbo",
        messages=[{"role": "user", "content": user_message}]
    )

    reply = response["choices"][0]["message"]["content"]
    return jsonify({"reply": reply})

if __name__ == "__main__":
    app.run(debug=True)
6-3. Frontend (templates/index.html)
This HTML page provides a basic chat UI. It sends messages to the Flask server and displays responses in real time.
<!DOCTYPE html>
<html lang="en">
<head>
  <meta charset="UTF-8">
  <title>AI Chatbot</title>
  <link rel="stylesheet" href="/static/style.css">
</head>
<body>
  <div class="chat-container">
    <div id="chat-box"></div>
    <input type="text" id="user-input" placeholder="Type your message..." />
    <button onclick="sendMessage()">Send</button>
  </div>

  <script>
    async function sendMessage() {
      const input = document.getElementById("user-input");
      const message = input.value;
      input.value = "";

      const chatBox = document.getElementById("chat-box");
      chatBox.innerHTML += "<div><strong>You:</strong> " + message + "</div>";

      const response = await fetch("/chat", {
        method: "POST",
        headers: { "Content-Type": "application/json" },
        body: JSON.stringify({ message: message })
      });

      const data = await response.json();
      chatBox.innerHTML += "<div><strong>GPT:</strong> " + data.reply + "</div>";
      chatBox.scrollTop = chatBox.scrollHeight;
    }
  </script>
</body>
</html>
6-4. Basic Styling (static/style.css)
Here’s a minimal CSS file to improve the user interface.
body {
  font-family: Arial, sans-serif;
  padding: 40px;
}

.chat-container {
  max-width: 600px;
  margin: 0 auto;
}

#chat-box {
  border: 1px solid #ccc;
  height: 300px;
  padding: 10px;
  overflow-y: auto;
  margin-bottom: 10px;
}

#user-input {
  width: 75%;
  padding: 10px;
}

button {
  padding: 10px 15px;
}
6-5. Running the Web App
Run the Flask app with the following command:
python app.pyThen open your browser and navigate to http://localhost:5000. You can now chat with your AI bot through a web interface!
Next up, you’ll learn how to deploy this application to a public server so anyone can access it online.
7. Deploying and Managing Your Chatbot
You’ve built your chatbot, tested it locally, and now it’s time to share it with the world. In this section, you’ll learn how to deploy your chatbot to a cloud hosting platform and manage its operations securely and efficiently. We’ll use Render as an example, but other platforms like Railway, Vercel, or Replit work similarly.
7-1. Deploying to Render (Free Plan Available)
Render is a cloud platform that allows you to host web services for free, with easy GitHub integration. Here’s how to deploy:
- Sign up at render.com and link your GitHub repository containing your chatbot project.
- Click “New +” → Web Service and select your repository.
- Set the environment:
- Build Command:
pip install -r requirements.txt - Start Command:
python app.py - Runtime: Python 3.10+
- Build Command:
- Add your
OPENAI_API_KEYas an Environment Variable.
If needed, adjust the port configuration in your app.py file:
if __name__ == "__main__":
    app.run(host="0.0.0.0", port=int(os.environ.get("PORT", 5000)))
Once deployed, Render will give you a public URL you can share with others.
7-2. Keeping Your API Key Secure
Your OpenAI API key is a sensitive credential. Follow these best practices to protect it:
- Never commit your
.envfile to GitHub. - Add
.envto your.gitignorefile. - Use environment variables on hosting platforms (Render, Railway, etc.) to inject secrets.
- Generate separate API keys for development and production environments for safety.
7-3. Monitoring API Usage and Handling Errors
To manage your costs and ensure a smooth user experience, you should monitor API usage and prepare for errors.
- Check usage and billing in your OpenAI dashboard.
- Use
try/exceptblocks in your code to handle rate limits or API failures gracefully.
try:
    response = openai.ChatCompletion.create(...)
    reply = response["choices"][0]["message"]["content"]
except openai.error.RateLimitError:
    reply = "Too many requests. Please try again shortly."
except openai.error.AuthenticationError:
    reply = "Authentication failed. Please check your API key."
except Exception as e:
    reply = f"An unexpected error occurred: {str(e)}"
7-4. Alternatives to Render
Depending on your goals, you may want to explore other platforms:
- Railway: Easy-to-use with database integration and CLI support.
- Vercel: Best for frontend apps; backend requires Serverless Functions.
- Replit: Great for education and quick experiments, includes online IDE.
No matter which platform you choose, the key to successful deployment is preparation. Keep your environment organized, your credentials safe, and your users informed with clear feedback.
In the next section, we’ll go over practical optimization tips to help you reduce costs, speed up responses, and avoid common issues in production environments.
8. Real-World Tips and Best Practices
Once your chatbot is live, real-world usage introduces new challenges: managing costs, ensuring responsiveness, and handling unexpected errors. This section shares proven tips to optimize your chatbot for performance, reliability, and efficiency.
8-1. Monitor and Minimize Token Usage
OpenAI charges based on token consumption—both for the prompt and the response. Keeping usage in check helps reduce costs without sacrificing quality.
- Choose your model wisely: GPT-3.5 is much cheaper than GPT-4 for general tasks.
- Limit conversation history: Keep only relevant recent messages in context.
- Control response length: Use the
max_tokensparameter wisely.
You can access token usage data from the API response like this:
response = openai.ChatCompletion.create(...)
print(f"Total tokens used: {response['usage']['total_tokens']}")
8-2. Speed Up Response Times
Long response times can frustrate users. Consider these strategies to improve speed:
- Minimize context size: Remove unnecessary messages from the history.
- Optimize your questions: Short, clear queries yield faster responses.
- Use GPT-3.5 for faster, lower-latency replies.
You can also set a timeout in your API requests to avoid long delays:
openai.ChatCompletion.create(..., timeout=10)8-3. Implement Robust Error Handling
Chatbots should respond gracefully when things go wrong. Anticipate and catch common API errors:
try:
    response = openai.ChatCompletion.create(...)
    reply = response["choices"][0]["message"]["content"]
except openai.error.RateLimitError:
    reply = "You're sending requests too quickly. Please wait a moment."
except openai.error.AuthenticationError:
    reply = "API key issue. Please check your credentials."
except openai.error.APIError:
    reply = "Temporary server issue. Try again shortly."
except Exception as e:
    reply = f"An unexpected error occurred: {str(e)}"
8-4. Cache Common Responses
If your bot receives the same question frequently (e.g., “What are your business hours?”), consider caching the answer to avoid repeated API calls and save tokens.
- Use in-memory caching (e.g.,
functools.lru_cacheor Flask-Caching) - For persistent storage, use Redis or a lightweight database like SQLite
8-5. Plan for Growth
If your chatbot becomes popular, think beyond the basics:
- User session tracking: Store chats per user using session IDs
- Analytics: Log interactions for insights and improvements
- Multilingual support: Add automatic language detection and translation
- Integrations: Deploy the bot in Slack, WhatsApp, Discord, or other channels
Real-world usage is where your chatbot evolves from a side project into a scalable tool. By applying these best practices, you’ll ensure your bot remains cost-effective, responsive, and valuable to users.
Now, let’s wrap things up with a final reflection on what it means to build your own AI chatbot.
9. Conclusion: What It Means to Build Your Own AI Chatbot
Throughout this guide, you’ve gone from exploring a powerful API to building and deploying a fully functional AI chatbot. This journey wasn’t just about writing code—it was about turning a complex technology into a personal, useful, and scalable tool.
By now, you’ve gained hands-on experience with:
- OpenAI’s ChatGPT API and how it handles messages
- Creating a basic chatbot with memory and role configuration
- Building a user-friendly web interface using Flask
- Deploying to the cloud and optimizing for performance and cost
But perhaps the most important thing you’ve gained is confidence—the knowledge that you can create your own intelligent systems and adapt them to your needs.
Where to Go from Here?
This is only the beginning. Your chatbot can become more than a toy or prototype. With just a few enhancements, you could:
- Integrate with messaging platforms like Slack, WhatsApp, or Discord
- Add knowledge retrieval capabilities (e.g., vector search + RAG)
- Support multimodal input (images, voice, etc.)
- Build industry-specific assistants for education, healthcare, or finance
Don’t wait for someone else to innovate—you’ve already proven that you can.
The best AI isn’t the one that just answers questions. It’s the one you build, that solves problems you care about, in a way only you can envision.
Let your ideas lead the way—your chatbot is just the start.